
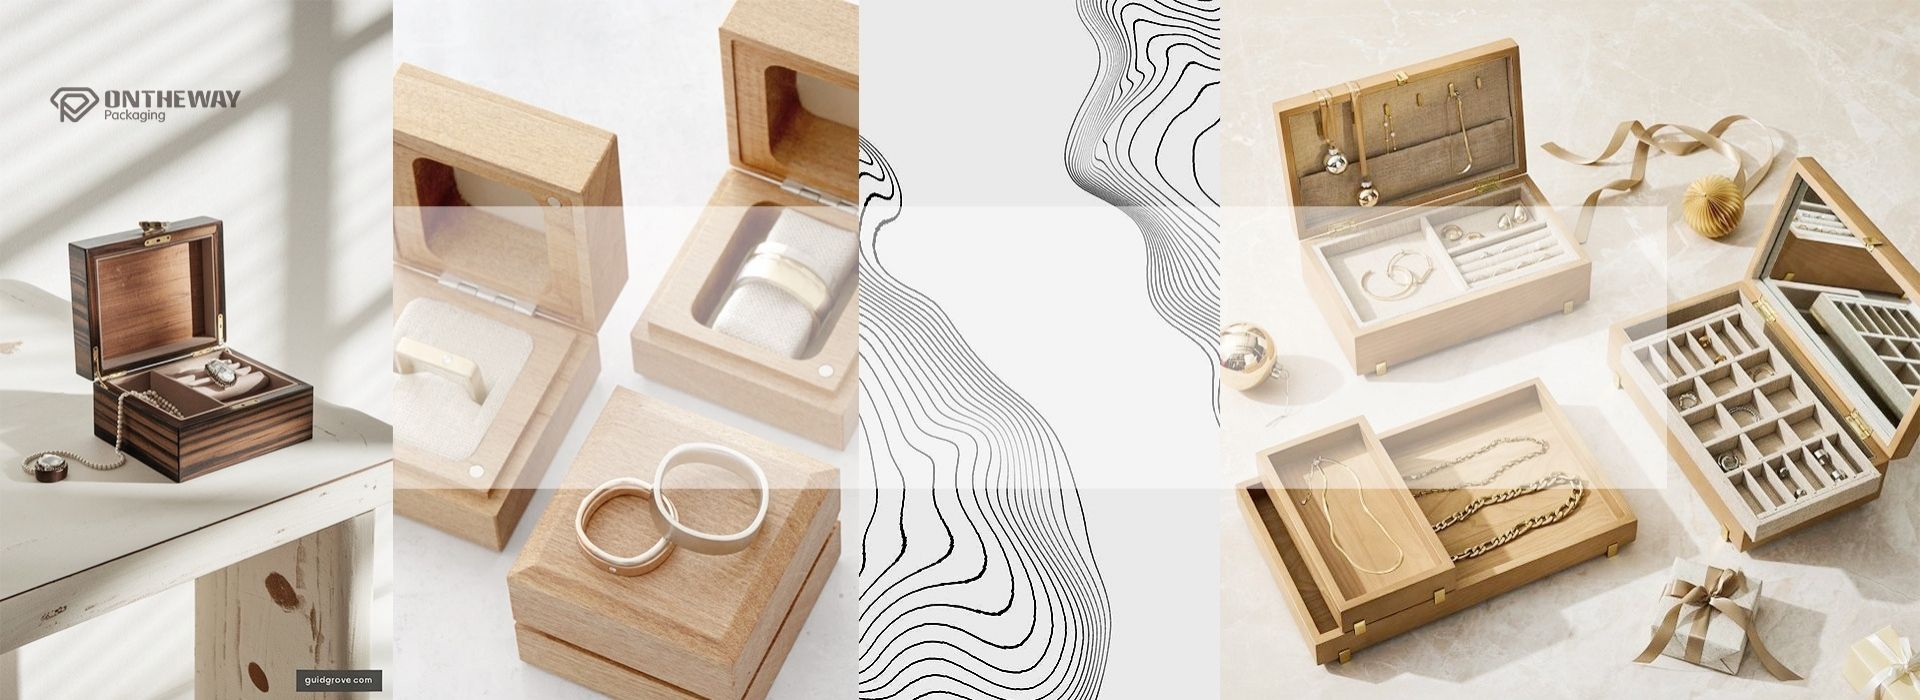
introduction
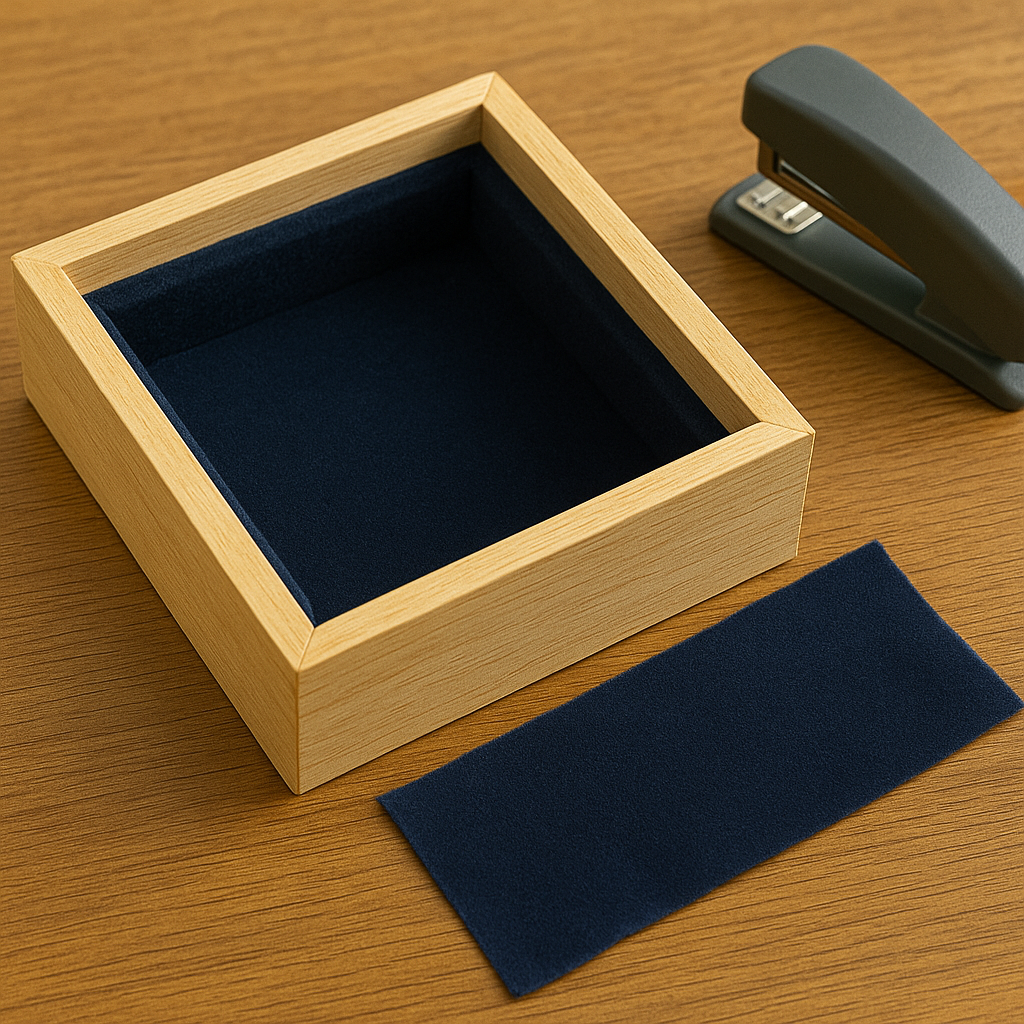
Lining a jewelry box with velvet is one of the most important finishing touches that defines both the luxury and functionality of the box. The velvet jewelry box lining doesn’t just look elegant — it protects delicate jewelry from scratches, tarnish, and moisture.
Whether you’re a craftsman, a jewelry brand, or a packaging designer, learning how to line a jewelry box with velvet properly can make all the difference in presentation quality. In this guide, we’ll walk through the best materials, essential tools, and factory-level techniques to achieve a professional velvet finish.
Why Velvet Is the Best Lining Material for Jewelry Boxes
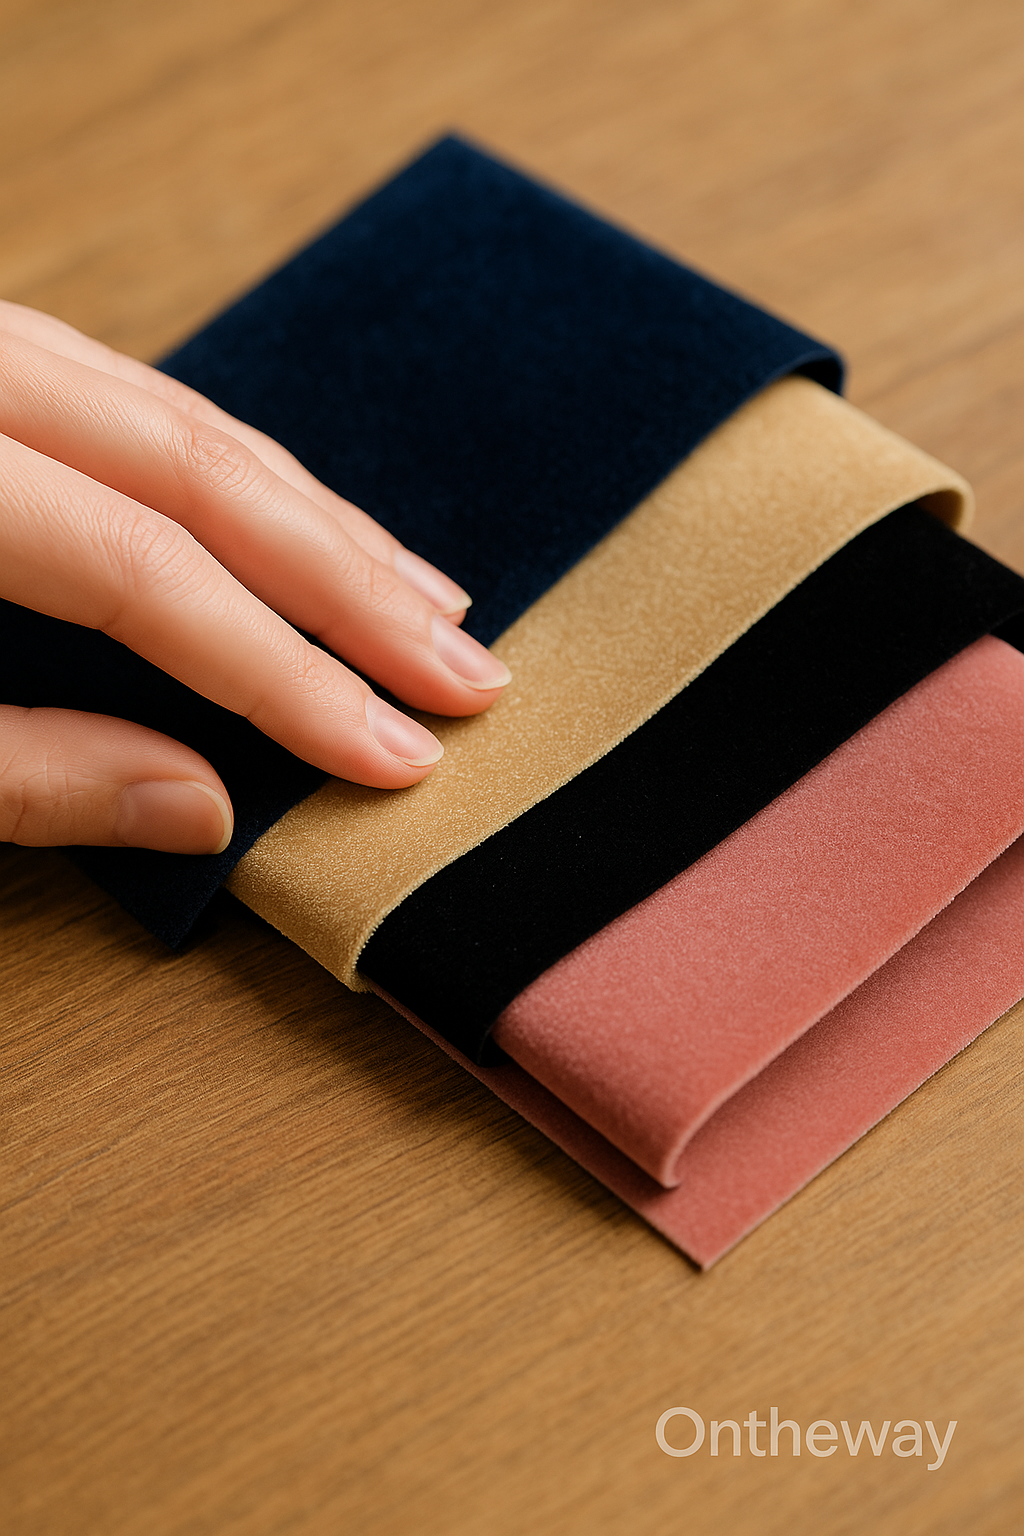
Velvet has been the top choice for jewelry box interiors for decades — and for good reason. Its soft texture and luxurious appearance elevate even the simplest jewelry box design. Velvet comes in multiple textures, such as matte, glossy, and crushed, offering flexibility for different branding styles.
From a practical perspective, velvet helps protect jewelry from scratches, oxidation, and minor impacts, especially for items made of gold, silver, or pearls. Its smooth fibers create a cushioned surface that prevents friction between jewelry pieces.
Many brands also select custom velvet colors — such as champagne beige, royal blue, or deep green — to align with their brand’s visual identity. The choice of velvet can subtly communicate elegance, warmth, and exclusivity to your customers.
Common Mistakes When Lining Jewelry Boxes with Velvet
Even experienced crafters can make small mistakes during velvet application. Avoid these common issues to achieve a flawless finish:
Using the wrong adhesive: too strong, and it hardens; too weak, and the fabric lifts over time.
Cutting velvet too tight: leaves gaps or uneven tension when glued.
Ignoring fabric stretch: velvet has a slight elasticity — handle gently to prevent warping.
Skipping dust removal: small fibers can ruin the final look under lighting.
By maintaining a clean workspace and consistent technique, you can ensure every jewelry box interior looks as elegant as the exterior.
Tools and Materials Needed for Velvet Lining
Before you start the velvet lining process, it’s essential to prepare the right materials and tools. The precision of your lining depends on both what you use and how carefully you apply it.
1:Essential Materials
- To achieve a professional look, gather:
- Soft matte velvet or micro-velvet fabric
- Inner support base (EVA, PU, or rigid cardboard)
- Non-toxic spray adhesive or contact glue
- Cutting tools (knife, scissors, steel ruler)
- Measuring tape and pencil for accurate marking
2:Tools for Precision and Smooth Finishing
Factories use specialized tools to ensure even application and a smooth finish:
- Roller press — flattens the velvet evenly to prevent bubbles
- Corner clamps or tweezers — help with tight angles
- Heat press or warm roller — for long-lasting adhesion
- Lint roller or dust cloth — removes fabric dust for a clean finish
Material and Tool Reference Table
|
Item |
Purpose |
Recommended Type |
|
Velvet Fabric |
Main lining material |
Matte soft velvet |
|
Adhesive |
To attach velvet |
Non-toxic spray glue |
|
Foam Board |
Inner base layer |
EVA or PU board |
|
Roller Tool |
Flatten surface |
Rubber or wooden roller |
|
Cutter & Ruler |
Trim edges neatly |
Stainless steel |
|
Lint Roller |
Clean velvet surface |
Anti-static cloth |
By preparing all tools in advance, you’ll minimize the risk of wrinkles, uneven glue marks, and misalignment — issues that are difficult to fix once the velvet is attached.
Step-by-Step Guide: How to Line a Jewelry Box with Velvet
Lining a jewelry box with velvet takes patience and attention to detail. The following process reflects Ontheway Packaging’s factory-standard techniques, adapted for both professional and DIY users.
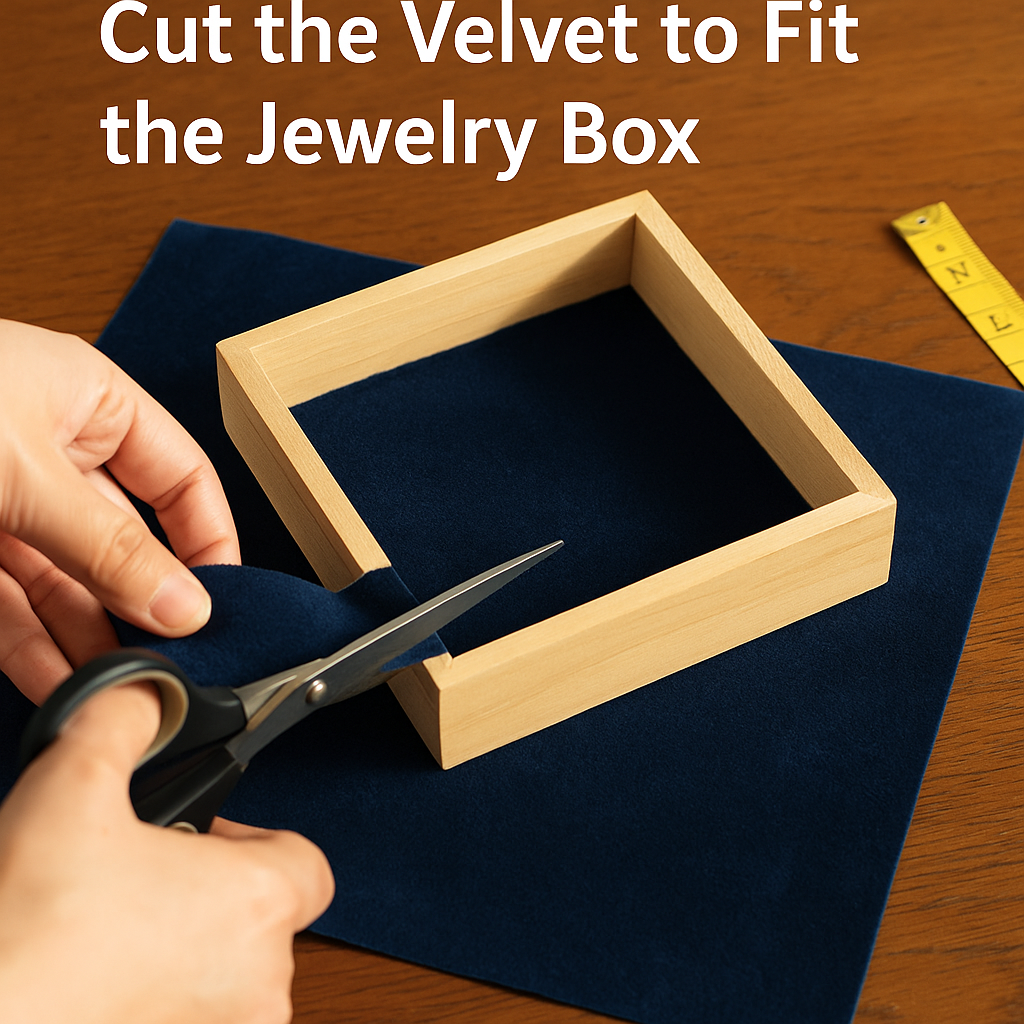
1:Cutting the Velvet and Base Panels
Begin by measuring the interior dimensions of the jewelry box precisely. Cut the inner board (EVA or PU) to match the walls and base of the box.
Next, cut the velvet fabric slightly larger — usually 3–5mm extra on each edge — to allow for smooth wrapping and perfect fit at the corners.
2:Applying the Adhesive Evenly
Use a spray adhesive or soft brush to apply a thin, even coat on the backing board. Wait 20–30 seconds until the surface becomes tacky — this prevents glue from soaking through the velvet.
For best results, work in a clean, dust-free environment to avoid fibers sticking to the glue.
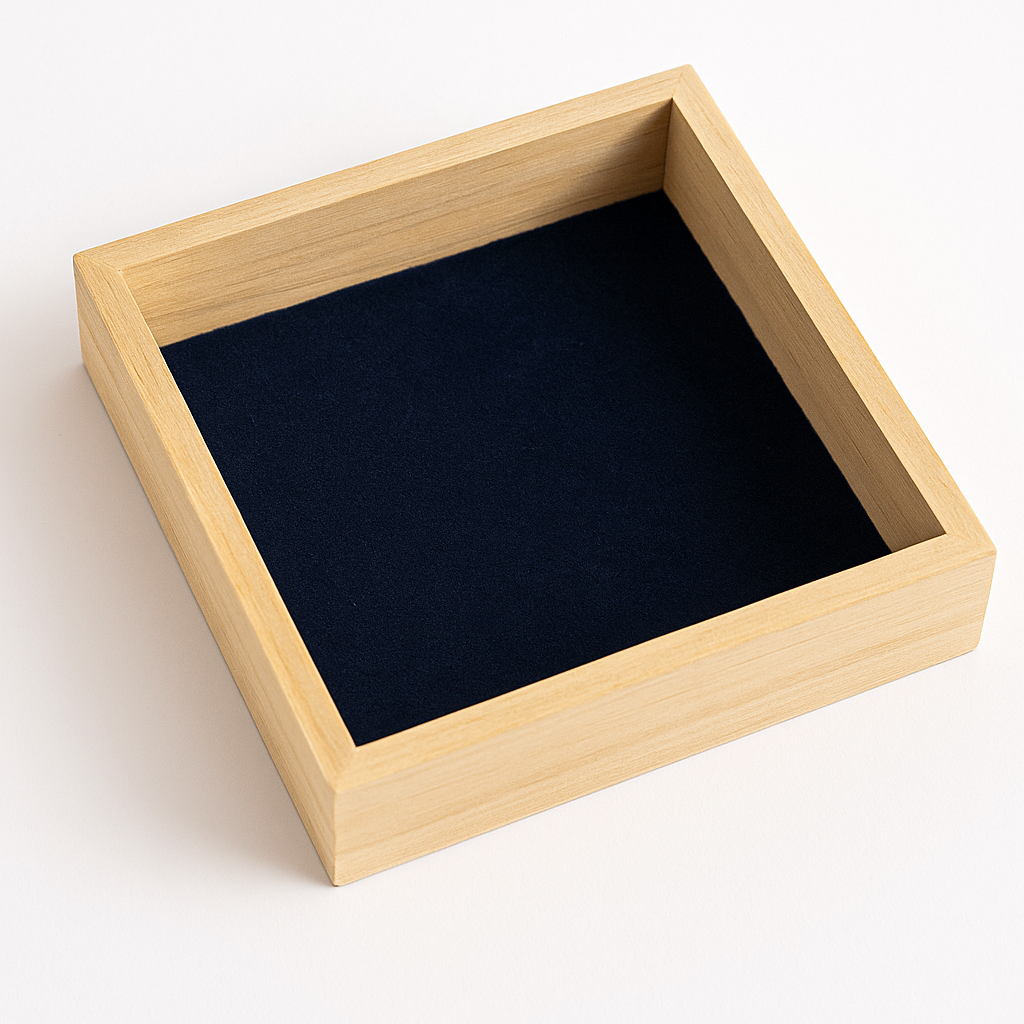
3:Pressing and Finishing the Velvet Surface
Lay the velvet gently over the board and press from the center outward using a roller or your hands wrapped in a soft cloth.
If bubbles appear, lift the area slightly and reapply pressure evenly. Once done, trim the excess velvet along the edges using a sharp cutter. The key is to keep movements slow and deliberate to maintain surface tension.
Factory workers at Ontheway Packaging often use a temperature-controlled room to prevent adhesive moisture changes — a small but crucial detail for smooth, wrinkle-free results.
Professional Factory Techniques for Perfect Velvet Lining
When it comes to professional velvet jewelry box making, factories like Ontheway Packaging rely on precision, experience, and strict quality control.
- CNC Cutting & Molding: ensures every insert fits perfectly into the box interior.
- Temperature-Controlled Adhesion: prevents glue over-drying and fabric bubbles.
- Surface Flattening Inspection: trained workers examine every box under bright light to ensure uniform texture.
- Color Consistency Check: multiple velvet batches are tested to ensure color matching for wholesale orders.
These professional techniques guarantee consistency across thousands of boxes, whether for boutique brands or large-scale distributors.
If you’re creating a jewelry packaging collection, working with a factory that understands velvet craftsmanship ensures every detail reflects your brand’s quality standards.
conclusion
Lining a jewelry box with velvet requires both patience and skill — but when done correctly, it adds a timeless elegance that elevates your entire jewelry collection. From the gentle touch of the fabric to the precision of its placement, every step reflects craftsmanship and care.
Looking to create custom velvet-lined jewelry boxes for your brand?
Partner with Ontheway Packaging, where expert artisans combine precision techniques with luxurious materials to deliver factory-quality results for every piece.
FAQ
Q: What type of velvet is best for lining jewelry boxes?
Matte or soft-touch velvet is ideal. It offers a smooth finish that highlights jewelry shine without attracting dust. Factories often use micro-velvet for high-end models.
Q: What glue should I use for velvet lining?
Use non-toxic spray adhesive or contact cement that provides uniform bonding without staining the fabric. Avoid watery glues that can soak through.
Q:How to prevent bubbles or wrinkles when applying velvet?
Work from the center outward and use a roller to press evenly. Apply adhesive sparingly, and allow partial drying time before placing the fabric.
Q:Does Ontheway offer custom velvet jewelry box manufacturing?
Yes. Ontheway Packaging provides OEM/ODM services with full velvet customization — from color selection to CNC-cut interiors and branded hot stamping.
Post time: Nov-12-2025
.png)
.png)
.png)

.png)

.png)