

Choose a jewelry tray by measuring the showcase, drawer, safe, and jewelry collection before deciding on color or fabric. A professional tray should create visual order, protect surfaces, support fast inventory handling, and remain stable when stacked or carried. The layout must fit both the jewelry and the retail workflow.
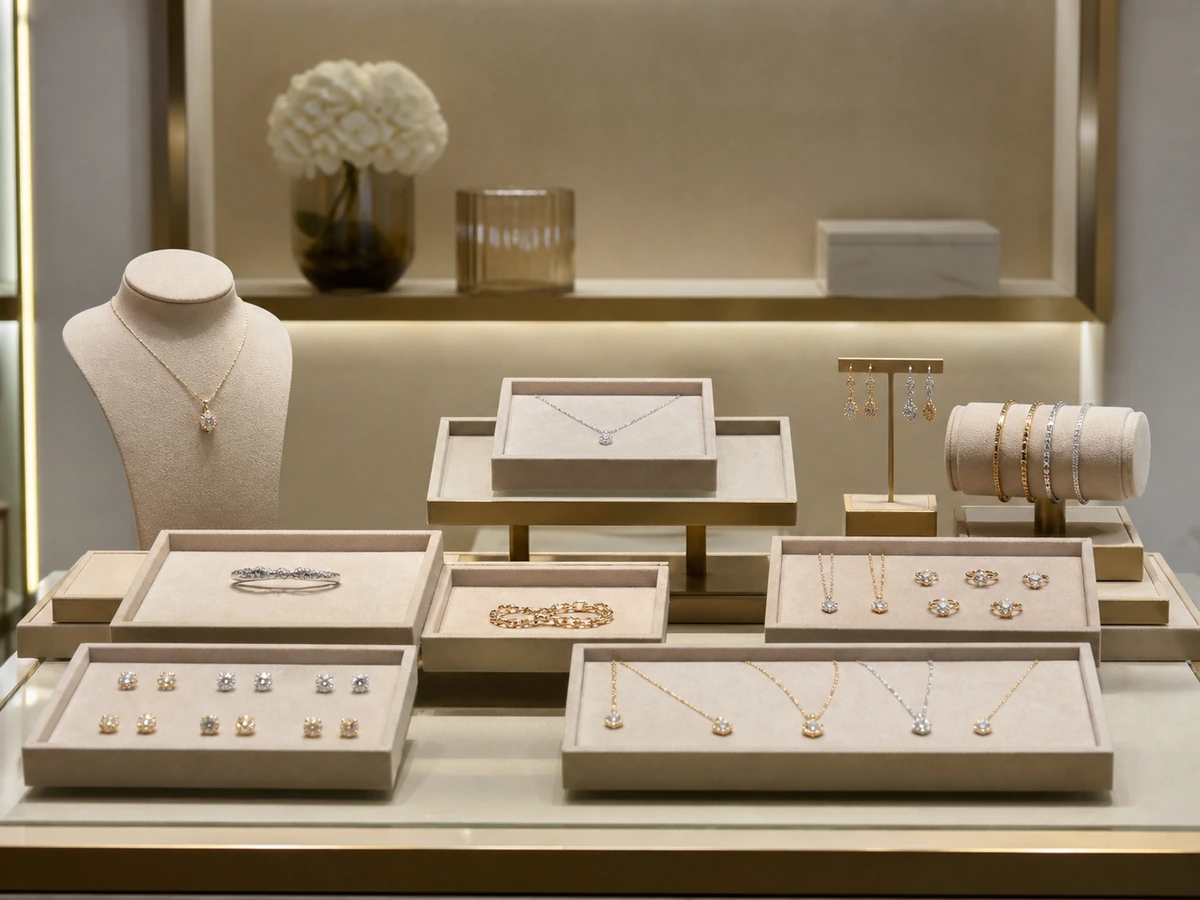
Formats and Structures Worth Comparing
Different formats solve different protection, display, storage, travel, and handling problems. Select a structure only after defining the exact jewelry and channel.
Open presentation tray
Best for active counters and guided selling when visibility and access matter.
Compartment tray
Separates small items and supports counting; cavity dimensions must match the merchandise.
Pad-and-insert tray
Uses removable pads for rings, earrings, pendants, or chains and makes layout changes easier.
Lidded transport tray
Adds protection between showroom, safe, and events; check closure clearance and stacking.
Drawer insert tray
Designed to fit furniture precisely and should allow finger access without wasting space.
Key Selection Factors
A reliable specification connects product geometry, daily handling, materials, visual presentation, and supply controls. Review these factors before decoration or price.
Furniture fit
Record internal showcase or drawer dimensions, door tracks, lighting, and finger clearance.
Merchandise density
Balance product count with visual breathing room and fast stock reconciliation.
Surface material
Assess velvet, microfiber, leatherette, flocking, wood, or acrylic for reflection, lint, abrasion, cleaning, and color contrast.
Insert system
Choose ring slots, earring holes, necklace pads, bracelet rolls, or modular blocks by the exact collection.
Handling and stacking
Test lifting, carrying, lids, tray stacks, and safe storage under daily retail use.
Buyer Comparison Framework
Use the same evidence for every concept so appearance does not hide operational weaknesses.
|
Decision area |
What to verify |
Approval evidence |
|
Furniture fit |
Record internal showcase or drawer dimensions, door tracks, lighting, and finger clearance. |
Written specification plus physical sample and agreed inspection point |
|
Merchandise density |
Balance product count with visual breathing room and fast stock reconciliation. |
Written specification plus physical sample and agreed inspection point |
|
Surface material |
Assess velvet, microfiber, leatherette, flocking, wood, or acrylic for reflection, lint, abrasion, cleaning, and color contrast. |
Written specification plus physical sample and agreed inspection point |
|
Insert system |
Choose ring slots, earring holes, necklace pads, bracelet rolls, or modular blocks by the exact collection. |
Written specification plus physical sample and agreed inspection point |
|
Handling and stacking |
Test lifting, carrying, lids, tray stacks, and safe storage under daily retail use. |
Written specification plus physical sample and agreed inspection point |
Step-by-Step Selection Process
Move from use requirements to structure, then materials and decoration. Each stage should close a specific risk before production.
1. Measure every counter, drawer, safe, and transport case.
2. Map SKU types, quantities, display spacing, and replenishment flow.
3. Select a standard outer footprint and modular insert family.
4. Test color and material under actual showcase lighting.
5. Run loaded carrying, stacking, cleaning, and access checks.
6. Approve dimensions, insert positions, fabric direction, and packing.
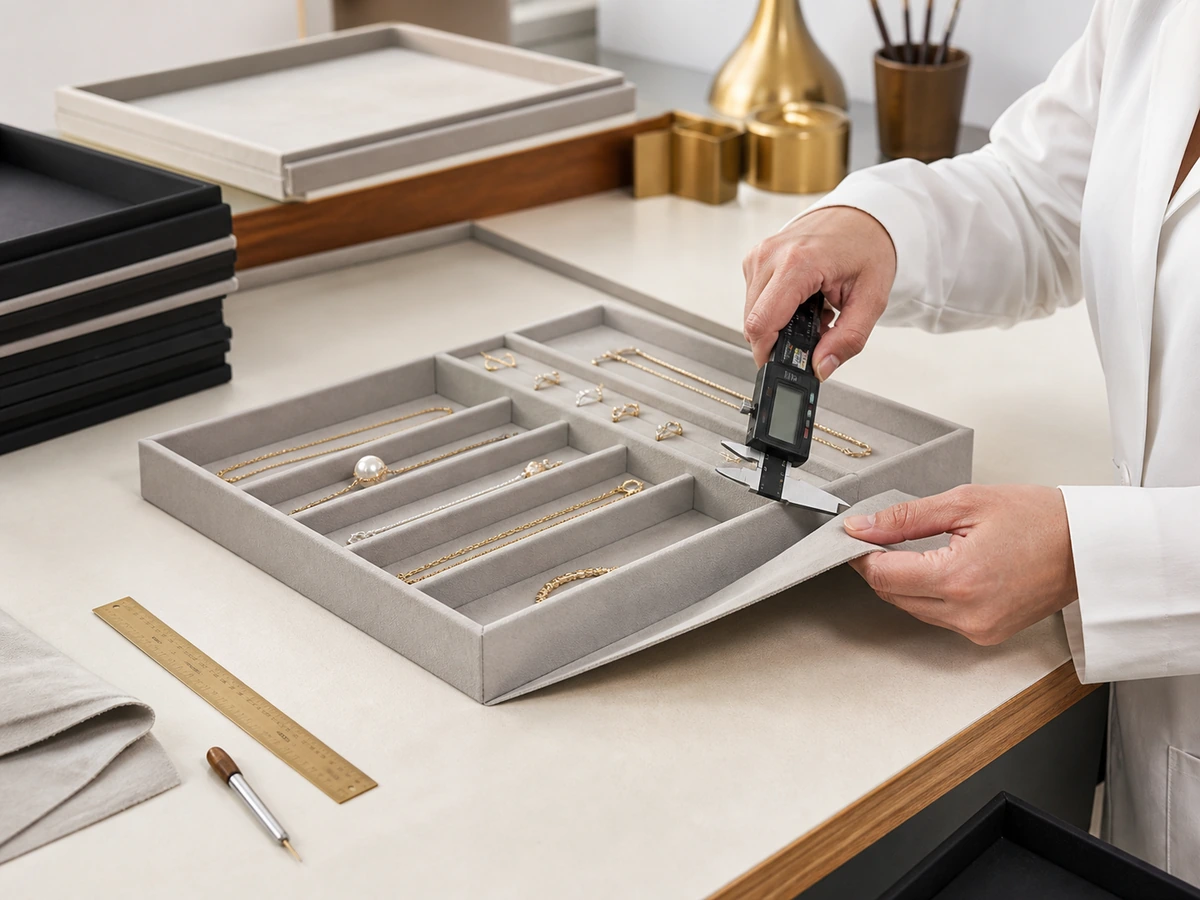
Sample and Quality Checklist
Evaluate the product in its loaded, handled, stored, and shipped condition. Record results instead of accepting broad descriptions such as “premium quality.”
- · Dimensions and usable space match the approved specification
- · Jewelry remains secure and can be removed without damage
- · Edges, seams, hardware, surfaces, and closures are clean and safe
- · Color, texture, and logo match the approved physical reference
- · The product performs under realistic handling and storage
- · Unit packing and master cartons prevent rubbing and deformation
Common Mistakes to Avoid
Most failures originate in an incomplete brief or an empty sample that never meets the real jewelry and workflow.
- · Selecting trays before measuring furniture
- · Maximizing item count until the display looks crowded
- · Using high-reflection or lint-prone fabric under the wrong lighting
- · Ignoring finger access and product removal
- · Ordering trays that do not stack consistently
What to Include in Your RFQ
A complete RFQ produces comparable answers and fewer revisions. Attach drawings where useful, and identify mandatory details.
- · Exact product type, dimensions, weight, quantity, and use case
- · Structure, usable dimensions, materials, colors, and contact surfaces
- · Closures, hardware, inserts, compartments, and accessories
- · Logo artwork, position, finish, and acceptable appearance
- · Quantity by version, unit packing, carton packing, and destination
- · Sample stages, approval date, inspection method, and required documents
Frequently Asked Questions
These answers support early sourcing decisions. Final requirements should be confirmed with actual products and a production-intent sample.
What tray size should a jewelry store use?
Use the largest standardized footprint that fits the actual showcase, drawer, safe, and handling route without blocking access or lighting.
Should every jewelry type have a separate tray?
Not necessarily. Modular inserts can share an outer tray, but each jewelry type still needs suitable retention and clearance.
Which color displays jewelry best?
Contrast and lighting matter more than a universal color rule. Test metals and gemstones under the store’s real lights before approval.
How should trays be packed for delivery?
Protect corners, fabrics, lids, and stacking surfaces from compression and rubbing. Confirm carton quantity and orientation on an approved pack-out sample.
Approve the Complete Product, Not a Catalog Image
The best choice is the one that works with the exact jewelry, user journey, handling environment, and brand system. Define the specification, test a production-intent sample, and preserve a physical approval reference. OnTheWay offers custom jewelry packaging and display categories that buyers can evaluate against a written brief.


.png)
.png)
.png)

.png)

.png)